Table of Contents >> Show >> Hide
- Why Windshield Damage Matters More Than You Think
- Can You Repair a Windshield or Do You Need to Replace It?
- What You Need to Repair a Windshield
- How to Repair a Windshield: Step by Step
- Step 1: Check the Damage Carefully
- Step 2: Park in the Right Spot
- Step 3: Clean the Area
- Step 4: Attach the Repair Bridge or Applicator
- Step 5: Add the Resin
- Step 6: Help the Resin Reach the Damage
- Step 7: Cure the Resin
- Step 8: Remove the Film and Scrape the Surface Smooth
- Step 9: Inspect the Finished Repair
- Common Windshield Repair Mistakes to Avoid
- When to Call a Professional Instead
- Windshield Repair, Insurance, and Cost Basics
- How to Keep a Small Chip from Becoming a Huge Problem
- Final Thoughts
- Real-World Experiences With Windshield Repair
Note: This guide is intended for small laminated windshield chips and short cracks only. If the damage is in the driver’s line of sight, reaches the edge, penetrates both layers, or affects ADAS sensors/cameras, get professional help.
A tiny chip in your windshield has one job: pretending to be harmless until it turns into a dramatic crack right before your commute. The good news is that some windshield damage can be repaired at home if you catch it early, use the right kit, and know when to stop playing hero and call a pro.
This step-by-step guide explains how to repair a windshield safely, what tools you need, which types of damage are usually repairable, and when replacement is the smarter move. We will also cover common mistakes, insurance basics, and the surprise villain of modern auto glass: cameras and sensors hiding behind the windshield.
Why Windshield Damage Matters More Than You Think
A windshield is not just a fancy bug shield. On modern vehicles, it is part of the car’s safety system. It helps support the roof, contributes to cabin strength, and even plays a role in proper airbag deployment. That means a neglected chip is not only ugly; it can also become a bigger safety issue over time.
Damage also tends to spread. Heat, cold, potholes, rough roads, and slamming the car door can all make a small chip grow into a full-on crack. One minute you are thinking, “I’ll deal with it later.” The next minute your windshield looks like it lost an argument with a spider.
Can You Repair a Windshield or Do You Need to Replace It?
Before opening a repair kit, you need to know whether your windshield is a good candidate for DIY repair. In general, small chips and very short cracks may be repairable. Damage is more likely to need replacement if it is:
- Directly in the driver’s line of sight
- Near the edge of the windshield
- Long, spreading, or branching
- Deep enough to affect both layers of glass
- Part of multiple damaged spots clustered together
Many professional auto glass companies say small chips and short cracks away from the edge are often repairable, while longer or edge-reaching cracks usually are not. DIY kits are typically designed for small bullseye-style chips, tiny star breaks, or other minor damage, not large cracks stretching across the glass.
Good DIY Candidates
- Small rock chips caught early
- Bullseye or star breaks that have not spread much
- Damage that is dry, clean, and limited to the outer layer area
- Chips outside the driver’s main viewing area
Bad DIY Candidates
- Cracks that keep growing every day
- Damage you can feel from both sides of the glass
- Chips at the perimeter of the windshield
- Damage blocking vision or distorting what you see
- Vehicles with windshield-mounted cameras that may need recalibration after glass work
What You Need to Repair a Windshield
Most DIY windshield repair kits include the basics, and that is a beautiful thing because nobody wants a project that somehow requires seventeen mystery adapters.
Here is what you usually need:
- A windshield repair kit with resin and applicator bridge
- Glass cleaner or isopropyl alcohol
- Microfiber cloth
- Safety gloves
- A razor blade or scraper for finishing
- Clear tape if you need to temporarily protect a fresh chip before repair
- A shaded work area for setup and direct sunlight or UV exposure for curing, depending on kit instructions
Read the directions included with your kit before you start. Yes, actually read them. This is one of those rare moments when winging it is not a personality trait; it is a mistake.
How to Repair a Windshield: Step by Step
Step 1: Check the Damage Carefully
Inspect the chip or crack in bright light. If the damage is larger than your kit allows, in the driver’s direct field of view, or near the windshield edge, stop here and schedule professional service.
If the chip is fresh, cover it with clear tape until you are ready to repair it. This helps keep out dirt and moisture, which can interfere with the resin bond and make the repair less effective.
Step 2: Park in the Right Spot
Set up the repair in a dry, mild environment. Many kits recommend avoiding direct sunlight during setup because the resin can begin curing too early. A garage or shaded driveway is ideal for the prep stage.
If the windshield is hot from sitting in the sun, let it cool first. If it is icy cold, let the glass warm gradually. Extreme temperatures are not your friends here.
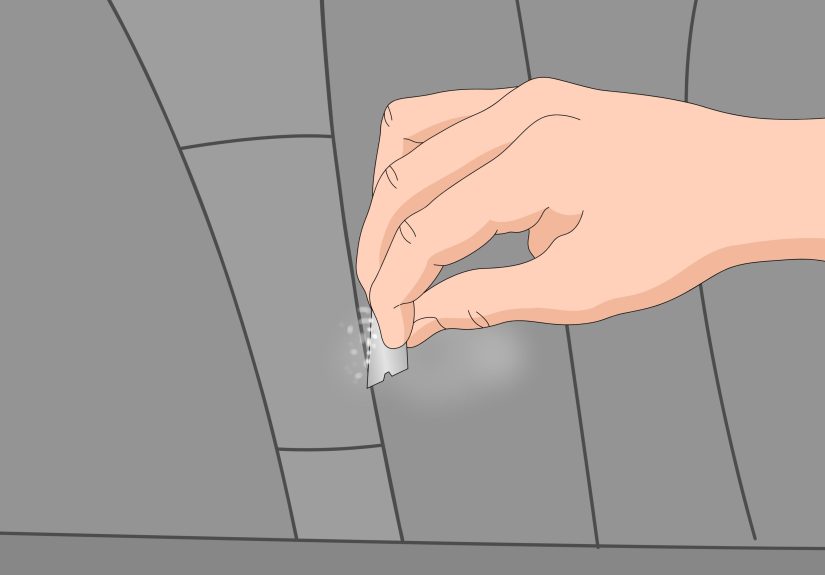
Step 3: Clean the Area
Wipe the windshield around the damaged spot with glass cleaner or alcohol and a lint-free cloth. Do not soak the break itself. You want the surface clean, but you do not want to flood the damage with extra moisture.
If there is loose debris in the chip, remove it gently according to the kit instructions. Do not jam tools into the glass like you are mining for treasure. The goal is to clean, not enlarge the damage.
Step 4: Attach the Repair Bridge or Applicator
Most kits use an applicator base or bridge that sticks to the windshield over the damaged area. Line it up carefully. The center of the tool must sit directly over the chip, because this is how the resin gets pulled into the break.
Take your time with alignment. A crooked setup can mean the resin misses part of the damage, and then you will have wasted time, effort, and at least one ounce of personal dignity.
Step 5: Add the Resin
Place the repair resin into the applicator as directed. The resin is designed to flow into the chip or small crack and replace trapped air. This is the part that actually makes the repair work.
Some kits use pressure, some use vacuum, and some use both. Follow the sequence closely. If your kit instructs you to let the resin sit for a few minutes, do that. Rushing this step is like baking cookies for four minutes and then acting shocked when they are raw.
Step 6: Help the Resin Reach the Damage
Once the applicator is in place, check the chip from inside the vehicle. You may see the break darken or change appearance as the resin fills the damaged area. That is usually a good sign.
If your kit recommends it, lightly tap around the inside of the glass near the break to help trapped air escape. Lightly is the keyword. You are persuading the resin, not starting a percussion solo.
Step 7: Cure the Resin
After the break is filled, many kits require a curing strip over the area and direct sunlight or UV exposure to harden the resin. This is why the usual advice is to prep in the shade and cure in the sun.
Curing time varies by product and weather. Bright sun may cure the resin quickly, while cloudy conditions can take much longer. Be patient. If the resin is not fully cured, the repair will not hold as well as it should.
Step 8: Remove the Film and Scrape the Surface Smooth
Once the resin cures, remove the curing strip and use the razor blade or scraper to shave away excess material. Hold the blade at a low angle and work gently until the surface feels smooth.
A good repair will not always make the chip disappear completely. The main goal is to strengthen the area, improve clarity, and stop the damage from spreading. Think “much better,” not “brand-new invisible magic.”
Step 9: Inspect the Finished Repair
Look at the repair from different angles, both inside and outside the vehicle. If the chip still looks open, the crack keeps spreading, or visibility is distorted, do not keep experimenting. That is your sign to get a professional opinion.
Common Windshield Repair Mistakes to Avoid
- Waiting too long: Dirt and moisture make repairs harder and less effective.
- Trying to fix large cracks: DIY kits are for minor damage, not windshield miracles.
- Repairing in direct sun too early: Resin can cure before it fully fills the break.
- Skipping instructions: Different kits have different timing and pressure steps.
- Ignoring the edge of the glass: Edge damage is much more likely to require replacement.
- Forgetting about cameras: Newer cars often have ADAS cameras mounted near the windshield.
When to Call a Professional Instead
A professional repair or replacement is the better choice when safety, visibility, or structural integrity is on the line. Call an expert if:
- The crack is long or spreading fast
- The damage reaches the edge
- The chip is larger than your repair kit recommends
- The break is in the driver’s direct line of sight
- The windshield has multiple chips or complex fractures
- Your car has lane assist, forward collision warning, rain sensors, or a camera mounted behind the windshield
That last point matters more than many drivers realize. On many newer vehicles, replacing the windshield may require recalibration of advanced driver assistance systems, often called ADAS. If the camera is not calibrated correctly, features like lane departure warning or automatic emergency braking may not perform as intended.
Windshield Repair, Insurance, and Cost Basics
Windshield repair is usually far cheaper than replacement, which is one reason fixing a chip early is such a smart move. Insurance may also help. Depending on your policy and state, comprehensive coverage may cover windshield repair or replacement. Some insurers waive deductibles for repairs, while replacement deductibles vary by state and policy.
Translation: your insurance paperwork is not exactly beach reading, but it is worth checking before you pay out of pocket. If the damage is minor, repair is often the simplest and cheapest path. If the windshield must be replaced, ask whether recalibration is included in the quote.
How to Keep a Small Chip from Becoming a Huge Problem
- Repair chips as soon as possible
- Avoid blasting a freezing windshield with very hot defroster air
- Keep a safe distance from gravel trucks and road debris
- Replace worn wiper blades that can scratch glass
- Park in covered areas when possible during extreme weather
- Use clear tape on a fresh chip until you can repair it
Final Thoughts
Learning how to repair a windshield is useful because some chips really are small, manageable, and fixable at home. A quality resin kit can improve the look of the damage and help stop it from spreading, especially if you act quickly and follow the instructions carefully.
But the smartest part of DIY windshield repair is knowing its limits. If the damage is large, deep, near the edge, or in your line of sight, replacement is not surrender. It is good judgment wearing work boots.
Fix the small stuff early, respect the safety role of the glass, and remember: a windshield should be clear enough to see the road, not abstract enough to qualify as modern art.
Real-World Experiences With Windshield Repair
One of the most common experiences drivers have starts with a tiny rock on the highway. You hear a quick tick, glance up, and see a chip no bigger than a pencil eraser. At first, it feels minor. Many people keep driving for days because the damage does not seem urgent. Then the weather changes, the car hits a pothole, or the door gets slammed a little too hard, and that tiny chip suddenly grows into a crack. The lesson most drivers learn the hard way is simple: small damage is the best time to act.
Another common experience is the first-time DIY repair attempt. People often say the process looks intimidating when they open the kit, mostly because the parts seem oddly specific and the instructions are written with the confidence of someone who has clearly done this before. But once the setup is understood, the repair itself is usually manageable. The trickiest parts tend to be centering the applicator, being patient with the resin, and resisting the urge to rush the curing stage. Most successful DIYers report the same result: the chip is still faintly visible if you know where to look, but it looks far better and no longer feels like a crack waiting to spread.
There is also the winter windshield story, which is practically a genre of its own. A driver notices a small crack in the evening, figures it can wait, then wakes up to find it several inches longer after a cold night. This happens often enough that experienced drivers in colder regions treat windshield damage like a time-sensitive problem. Not a five-alarm emergency, but definitely not something to save for “one of these weekends” either.
Many vehicle owners are also surprised by the insurance side of the experience. They assume any glass work will automatically be expensive, then discover that a repair may be covered differently from a replacement. Others get the opposite surprise: the glass is replaced, but the final bill grows because the vehicle needs calibration for safety systems built into the windshield area. That is why experienced drivers now ask one smart question up front: “Does this quote include everything, including recalibration if my car needs it?”
Finally, there is the visibility factor. Even when a chip seems small, people often notice how much more relaxed they feel once it is fixed. Night driving looks cleaner. Sun glare is less annoying. Rain feels less distracting. In other words, windshield repair is not only about preventing a crack from growing. It is also about making the everyday driving experience less stressful. And on a long commute, that matters more than most people expect.