Table of Contents >> Show >> Hide
- What “custom” really means in Word headers and footers
- The quick way: Insert a header or footer, then customize it
- Building a truly custom header/footer layout (without wrestling tabs)
- Add smart, auto-updating elements (fields) like page numbers, date, and file name
- Make headers/footers different where it matters
- 1) Different first page (aka: the cover page shouldn’t have “Page 1” screaming on it)
- 2) Different odd and even pages (for printed documents and book-style layouts)
- 3) Different headers/footers for different sections (chapters, appendices, rotated pages)
- How to change a header or footer on just one page (yes, it’s possible)
- Troubleshooting: the “why is Word doing this?” section
- Advanced upgrade: Make your header “follow” your chapter titles automatically
- Conclusion
- Real-World Experiences: What People Actually Run Into (and How to Win Anyway)
Headers and footers are the grown-up version of writing your name on your lunchbox: they tell everyone what the document is, who it belongs to, and where they arewithout you having to retype it on every page. And in Microsoft Word, “custom” can mean anything from a simple page number to a polished, branded letterhead with a logo, document title, date, and “Confidential” politely whispering in the corner.
This guide walks you through creating custom headers and footers in Word for Windows, Word for Mac, and (with a few limitations) Word for the web. We’ll cover the basics, the power moves (sections, odd/even pages, and cover pages), and the common “why is my header possessed?” troubleshooting moments.
What “custom” really means in Word headers and footers
In Word, a header/footer is its own editing area with its own tools. “Custom” usually means you’re doing one or more of these:
- Adding your own layout (left/center/right text, logo, lines, tables used for alignment)
- Inserting fields that update automatically (page numbers, date/time, file name, author, title)
- Creating variations (different first page, different odd/even pages, different sections/chapters)
- Controlling numbering (Roman numerals in front matter, restarting at 1 for chapters, etc.)
The quick way: Insert a header or footer, then customize it
Word’s built-in gallery designs are a fast starting point. You can pick one, then change the text, add a logo, or swap in your own elements. Microsoft’s recommended workflow is essentially: insert, edit, close.
Step-by-step (works similarly on Windows and Mac)
- Go to Insert > Header or Footer.
- Choose a built-in style or select Edit Header / Edit Footer to start from scratch.
- Type your text (e.g., document title, department name) and format it like normal text.
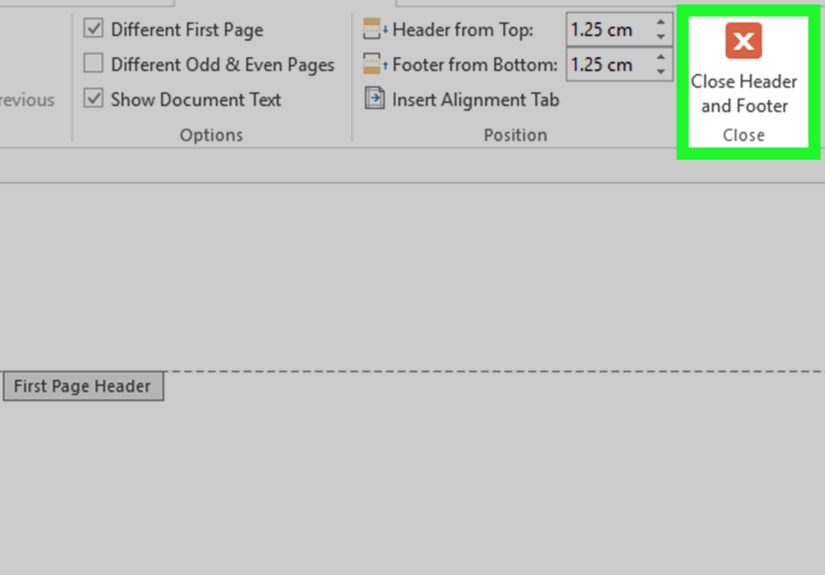
- When finished, click Close Header and Footer or press Esc.
Shortcut that feels like a cheat code
Double-click near the top margin to open the header, or near the bottom margin to open the footer. Double-click again in the body to exit. (If Word makes your page look “grayed out,” that’s normalit’s just telling you you’re editing the header/footer layer.)
Building a truly custom header/footer layout (without wrestling tabs)
The biggest difference between “basic” and “custom” is layout. If you want left/center/right content that stays aligned no matter what someone types, here are two reliable approaches:
Option A: Use a 1-row, 3-column table (my go-to for stable alignment)
- Open the header/footer (double-click the top or bottom margin).
- Insert a 1×3 table inside the header/footer.
- Put content in each cell:
- Left: Company/Department
- Center: Document Title
- Right: Page number or date
- Remove the table borders (Table Design > Borders > No Border).
This keeps your layout from “drifting” when text changesespecially useful for reports, proposals, and templates.
Option B: Use alignment tabs (good when you want fewer objects)
Word’s header/footer tools include alignment helpers (often used behind the scenes in built-in designs). If your organization standardizes templates, alignment tabs can keep spacing consistent with less visual clutter.
Add smart, auto-updating elements (fields) like page numbers, date, and file name
If you’ve ever typed “Page 7” manually and then added two pages earlier, you already know why fields exist. Fields are placeholders that update automaticallyespecially important in headers/footers.
Insert page numbers the reliable way
- Double-click the header or footer area.
- Use Page Number options, or insert the Page field code from the Header & Footer tools.
- To control formatting (1, 2, 3 vs. i, ii, iii), choose Format Page Numbers and select the style you want.
Example: A common professional footer is:
“Page {PAGE} of {NUMPAGES}” plus a document title on the left. (You can build this by combining text with page fields inside the footer.)
Insert document properties (Title, Author, File Name, Date) via Quick Parts
Want your header to show the file name, author, or titleautomatically? Word supports document property fields through Quick Parts > Field.
- Go to Insert > Header/Footer > Edit Header or Edit Footer.
- Select Quick Parts > Field.
- Choose a field such as FileName, Date, Author, or Title.
- Pick formatting options, then click OK.
One important limitation: Word for the web doesn’t support adding file names and some other document properties in headers/footers the same way desktop Word does.
Make headers/footers different where it matters
Here’s the part where Word goes from “nice” to “powerful.” You can create different headers/footers for: the first page, odd vs. even pages, and different sections (like chapters). The secret ingredient is understanding when Word is linking sections together by default.
1) Different first page (aka: the cover page shouldn’t have “Page 1” screaming on it)
- Double-click the header or footer on page 1.
- Check Different First Page.
- Add content to the first-page header/footer (or leave it blank).
Microsoft specifically recommends this approach when you want a title page without the same header/footer used on the rest of the document.
2) Different odd and even pages (for printed documents and book-style layouts)
If you’re printing double-sided, you may want the book title on left pages and the chapter title on right pages. Word supports this with a built-in toggle.
- Double-click a header or footer to open the Header & Footer tools.
- Select Different Odd & Even Pages.
- Edit the odd-page header/footer, then switch to an even page and edit that version.
3) Different headers/footers for different sections (chapters, appendices, rotated pages)
This is the “I’m writing a real document” feature. By default, Word links each section’s header/footer to the previous one, which is why changes sometimes ripple through the whole file. To make sections behave independently: create a section break, then turn off Link to Previous.
Step-by-step: separate chapter headers
- Click at the beginning of the page where the new header/footer should start.
- Go to Layout > Breaks > Next Page (creates a new section on a new page).
- Double-click the header or footer in the new section.
- Click Link to Previous to turn it off (do this separately for header and footer if you need both).
- Now edit the header/footer content for that section without changing earlier sections.
This approach is widely recommended for long documents like theses and multi-chapter reports because it also helps you control page numbering per section (front matter vs. main body, chapter restarts, etc.).
How to change a header or footer on just one page (yes, it’s possible)
Word doesn’t have a “make this one page special” button for middle pages. The standard method is: create a section break before the page and another after it, then unlink that middle section. Microsoft documents this workflow explicitly.
- Insert a Next Page section break at the end of the page before your special page.
- Insert another Next Page section break at the end of your special page.
- Open the header/footer on the special page and turn off Link to Previous.
- Edit (or remove) that header/footer for the special page only.
Troubleshooting: the “why is Word doing this?” section
Problem: “Everything says ‘Same as Previous’ and changes everywhere”
That “Same as Previous” label is Word announcing your sections are linked. Turn off Link to Previous in the section you want to customize (and remember: headers and footers can be linked separately).
Problem: Page numbers are weird (skipping, restarting, or refusing to behave)
Page numbering problems often come from section breaks, formatting differences between sections, or manual edits. A dependable fix is to re-check Format Page Numbers and confirm whether the section should continue numbering or start at a specific value.
- If a section should start over (like Chapter 1), set Start at: 1.
- If it should continue from previous sections (like a normal report), ensure it’s continuing rather than restarting.
- If the document is mid-edit, save page-number fine-tuning for the endpage counts change as you revise.
Problem: There’s too much space at the top/bottomeven when margins look fine
Sometimes it’s not the page marginsit’s the header/footer distance settings (often labeled Header from Top and Footer from Bottom). Academic formatting guides routinely point to these controls when content won’t sit where you expect.
Advanced upgrade: Make your header “follow” your chapter titles automatically
If you write long documents, manually changing “Chapter Two” in the header is a classic way to end up with “Chapter Two” on Chapter Three. Word can pull text from your document into the header using fields (commonly via STYLEREF), so the header updates when your headings change.
The exact setup depends on how your organization uses Styles (Heading 1, Heading 2, etc.), but the idea is simple: use a field that references a styled heading, then update fields when needed.
Conclusion
Custom headers and footers are one of Word’s highest return-on-effort features: a few minutes of setup can make your document look more professional and stay organized even as pages shift. The keys are:
- Start with a built-in header/footer (or create your own) and keep the layout stable.
- Use fields for page numbers and document properties so Word does the updating for you.
- For variations (cover pages, odd/even pages, chapters), use section breaks and control linking.
Real-World Experiences: What People Actually Run Into (and How to Win Anyway)
Once you move beyond a one-page memo, headers and footers stop being “that thing at the top” and become a living system. Here are real-world situations you’re likely to experience while building custom headers/footersplus practical ways to keep Word from turning your document into a surprise escape room.
1) The “My cover page is numbered Page 1” moment. This is incredibly common in proposals, reports, and school submissions. The fix is usually simple: enable Different First Page so your cover page header/footer can be blank (or branded) while the rest of the pages follow a standard pattern. The only “gotcha” is remembering you’re now editing two different header/footer versionsone for page 1 and one for pages 2+.
2) You change the header in Chapter 2 and Chapter 1 changes too. Word isn’t being petty; it’s being consistent. By default, sections link their headers/footers to the previous section. So your “new” header is actually the same header, just edited later in the file. When you want independence, you need a section break and you need to turn off Link to Previous in that sectionsometimes separately for headers and footers.
3) “I only need a different footer on one page.” Word can do it, but it expects you to think in sections. The standard experience is inserting a section break before the special page and another after it, unlinking the middle section, and then editing just that header/footer. It feels like extra steps until you realize it’s the same pattern used for every “different on these pages” requirement in Word.
4) Page numbers restart at 1… randomly. Usually, it’s not randomit’s a section break with page numbering set to start over. People often discover this after moving pages around or inserting “Next Page” breaks for layout. The clean recovery is checking Format Page Numbers in each section and choosing whether to continue or restart numbering. If the document is still changing a lot, many teams save the final page numbering pass for the last editing stage.
5) The “tabs keep sliding” struggle. A header built with multiple tabs can look perfectuntil someone adds a long title, changes the font, or prints to PDF with slightly different spacing. A common real-world improvement is using a borderless 1-row table for left/center/right alignment. It’s not glamorous, but it’s stable, and stable is beautiful when your deadline is tomorrow.
6) Someone wants the file name or “last saved” info in the footer. This is a classic operations request for shared documents and controlled templates. Word supports document properties through fields (via Quick Parts). The experience that catches people: Word for the web doesn’t fully match desktop Word’s document property field support, so teams often build and finalize templates in desktop Word to avoid missing-field surprises.
7) The spacing looks wrong, but margins are correct. This one is sneaky: you can have perfect page margins and still have too much (or too little) header/footer spacing because the header/footer distance settings are separate. When content refuses to sit higher or lower on the page, adjusting Header from Top or Footer from Bottom is often the missing move.
The bigger pattern behind all these experiences: Word’s header/footer system is predictable once you treat it like a set of “versions” (first page, odd/even pages, and sections) plus “connections” (Link to Previous). If you control the versions and connections intentionally, you’ll spend far less time chasing formatting ghostsand your documents will look like they were made on purpose. Because they were.


