Table of Contents >> Show >> Hide
- What Is a Twitch Clip (and What Isn’t)?
- Before You Clip: A 30-Second Checklist
- How to Create a Clip on Twitch: 9 Steps (Desktop)
- Step 1: Sign in to Twitch
- Step 2: Open the live stream or video you want to clip
- Step 3: Find the Clip button (aka the tiny clapperboard of destiny)
- Step 4: Use the shortcut if you want speed
- Step 5: Let the Clip Creator load, then trim your moment
- Step 6: Check the layout (especially if you plan to share on mobile)
- Step 7: Write a title that explains the moment
- Step 8: Hit “Publish” (don’t forget this part)
- Step 9: Share, download, or manage your clip
- How to Create a Twitch Clip on Mobile (iPhone & Android)
- How to Find, Edit, Download, and Delete Clips (Creator Dashboard)
- Clip Like a Pro: 7 Tips for Better Clips (and More Views)
- Troubleshooting: Why You Can’t Clip on Twitch
- Quick FAQ
- Real-World Clipping Experiences (The Good, the Bad, and the “Why Did I Publish That?”)
- Conclusion
Twitch moves fast. One second you’re calmly farming in a game, the next you’re accidentally inventing a brand-new speedrun category called “Unintentional Disaster.” That’s exactly why Twitch Clips exist: they let you bottle up the best (or funniest) moments and share them without making anyone watch a four-hour VOD first.
Below is a practical, up-to-date guide for creating clips on desktop and mobile, plus how to find, edit, download, and share them like a prowithout turning your channel into a clip-spam factory. (Nobody wants that. Not even your mom.)
What Is a Twitch Clip (and What Isn’t)?
A Twitch Clip is a short snippet pulled from a live stream or past broadcast. Think “highlight bite,” not “full recap.” Clips are designed for quick sharing and discoveryperfect for social media, Discord, and that group chat that only wakes up when someone gets jump-scared.
- Clips: Short, shareable moments (typically 5–60 seconds).
- VODs (Past Broadcasts): Longer replays of streams (the full “what happened”).
- Highlights: Longer curated segments created from VODs (more like a mini-episode).
Before You Clip: A 30-Second Checklist
- Be logged in to your Twitch account (many channels require it).
- Make sure Clips are enabled on the channel (some creators disable or restrict them).
- Choose your source: live stream, VOD, or highlight.
- Allow pop-ups if your browser blocks the Clip Creator window.
How to Create a Clip on Twitch: 9 Steps (Desktop)
-
Step 1: Sign in to Twitch
This sounds obvious, but it’s the #1 reason people don’t see the clip tools or get blocked by channel restrictions. If you’re signed out, Twitch might still let you watchbut clipping can be limited.
-
Step 2: Open the live stream or video you want to clip
Go to the streamer’s channel and play the moment you wanteither while they’re live or from a past broadcast. If you’re clipping a VOD, you can scrub to the exact spot without the pressure of “it’s happening RIGHT NOW.”
-
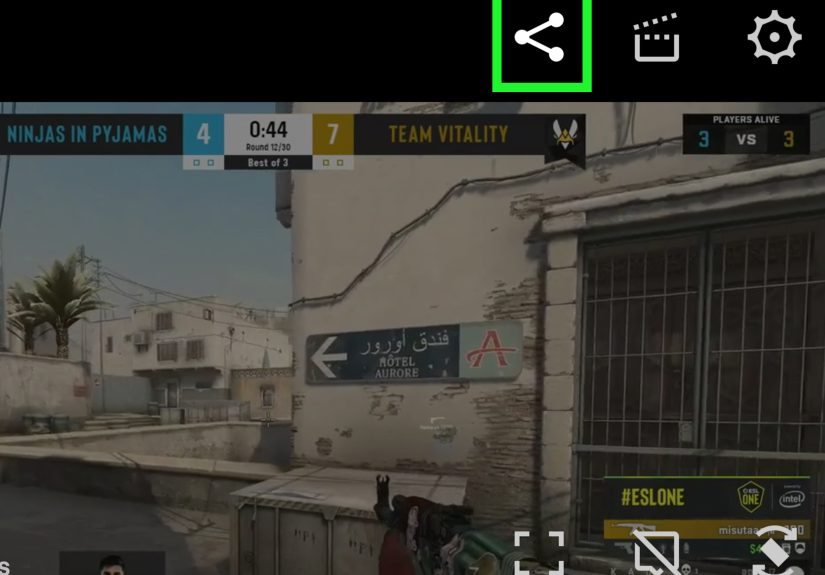
Step 3: Find the Clip button (aka the tiny clapperboard of destiny)
Hover your mouse over the video player controls. Look for the clapperboard icon (Clip). If it’s missing, jump to the troubleshooting sectionthere are a few common culprits.
-
Step 4: Use the shortcut if you want speed
If you’re on desktop, you can often start clipping with a keyboard shortcut: Alt + X (Windows) or Option + X (Mac). It’s the difference between “I clipped that!” and “I watched it happen… and then I stared into the void.”
-
Step 5: Let the Clip Creator load, then trim your moment
The Clip Creator opens (usually as a pop-up or new tab). You’ll see a timeline with handles. Drag them to capture the best part and cut the dead air. Aim for the smallest slice that still makes sense: reaction + context + payoff.
Example: If the funny part is the scream, include the two seconds before itotherwise viewers will wonder why you suddenly became a human air horn.
-
Step 6: Check the layout (especially if you plan to share on mobile)
Twitch has been improving clip workflows for mobile sharing, including portrait-friendly versions. If you see options to adjust a portrait layout or crop, set it once so future clips look good in vertical feeds.
-
Step 7: Write a title that explains the moment
Titles matter more than people admit. A good title adds context fast. Skip vague stuff like “LOL” and go for “Boss fight win at 1HP” or “Chat dared me… I listened.”
-
Step 8: Hit “Publish” (don’t forget this part)
Publishing is what actually saves the clip and makes it shareable. Twitch has pushed toward more intentional publishing so clips are created on purpose (and not by someone fat-fingering a button mid-scroll).
-
Step 9: Share, download, or manage your clip
After publishing, you can share the clip link, post it to social platforms, embed it on a website, or download it for editing. If you’re a creator, you’ll also want to organize clips in your dashboard so your best moments don’t get buried.
How to Create a Twitch Clip on Mobile (iPhone & Android)
Mobile clipping is similarjust more thumb-based and slightly more “Where did that button go?” Tap the stream to reveal controls, then look for the Clip icon. From there, you can trim, title, and publish. Many creators focus on mobile-friendly sharing now, so portrait-ready clips are a big deal if you’re posting to Shorts, Reels, or TikTok-style feeds.
Pro move: If you’re clipping for social media, consider trimming tighter than you think you need. Mobile viewers have the attention span of a goldfish that just discovered espresso.
How to Find, Edit, Download, and Delete Clips (Creator Dashboard)
If you’re a streamer (or you want to manage clips you’ve created), head to your Creator Dashboard and open the Clips area. That’s where you can review clips, re-title them, delete duplicates, and download files for edits.
- Find your clips: Creator Dashboard → Content → Clips (often called Clips Manager).
- Download: Look for a download option in the clip’s share/download controls.
- Delete: Remove clips you don’t want on your channel (especially duplicates or risky moments).
- Restrict clips: Many channels can limit clip creation to followers/subscribers or disable it entirely.
Clip Like a Pro: 7 Tips for Better Clips (and More Views)
- Clip with context: Two seconds of setup makes the punchline land.
- Keep it tight: Shorter clips often perform bettercut filler aggressively.
- Title for humans: Describe the moment, not your emotion.
- Don’t clip “hot mic” stuff: If it could get someone banned, don’t immortalize it.
- Watch audio: Loud music or copyrighted tracks can cause muting or takedowns.
- Make it share-ready: If it’s going to Shorts/Reels, consider portrait layout options.
- Use clips strategically: Post your best 1–2 per stream session, not 37 “kinda funny” ones.
Troubleshooting: Why You Can’t Clip on Twitch
- Clips are disabled on that channel (creator setting).
- You’re not logged in or the channel requires follower/subscriber status.
- Pop-ups are blocked (desktop clip creator may open a new window/tab).
- You’re in a restricted view (some embedded players or apps may hide clip tools).
- The broadcast isn’t available (no VOD, removed content, or limited category settings).
Quick FAQ
Can I clip my own stream?
Yes. Streamers commonly clip their own moments to repurpose on other platformsespecially if chat was too stunned to click the button.
How long do Twitch clips stay up?
Clips can remain on a channel indefinitely unless they’re deleted by the creator (or removed for policy reasons).
Can I edit a clip after publishing?
You can usually manage titles and some layout/crop options through clip management tools, and you can always download and edit externally for advanced cuts, captions, and overlays.
Real-World Clipping Experiences (The Good, the Bad, and the “Why Did I Publish That?”)
Here’s the part nobody tells you: clipping is easyclipping well is a learned skill, like making pancakes without flipping them onto the floor. Most streamers and viewers go through a predictable clip-learning arc, and knowing it ahead of time saves you a lot of “wait, where did my clip go?” energy.
First, the “I missed it” phase. Something incredible happensmaybe a last-second clutch, a perfect comedic pause, or your cat walks across the keyboard and somehow wins the round. You reach for the Clip button… and realize you’re five seconds late. The trick is to remember that clipping is usually built around a short buffer of recent footage. If you clip quickly, you can often trim back to the real start of the moment and still catch the payoff. The best clippers learn to hit Clip at the reaction, then trim backward to include the setup.
Next comes the “title panic” phase. The Clip Creator asks for a title, and suddenly your brain becomes an empty loading screen. The fix is simple: use a repeatable format. Try [What happened] + [Why it matters]. Examples: “Accidental no-scope to end the match” or “Chat dared me to push… I pushed.” These titles create instant context for people who weren’t there, which is basically everyone on the internet.
Then there’s the “clip cleanup” phaseusually right after a stream when you open your clips and discover: (1) three duplicates of the same moment, (2) one clip that starts too late, and (3) one clip that includes a private convo you didn’t mean to broadcast. This is where creators win by building a tiny post-stream routine: review the top clips, delete what shouldn’t exist, and download the best one for a quick polish (captions, tighter trimming, maybe a tasteful zoom on the face you made when reality collapsed).
Finally, you hit the “growth loop” phase. One good clip gets shared in the right placeDiscord, Reddit, Shortsand suddenly new viewers show up saying, “I saw that clip and had to follow.” That’s when clips stop being a fun extra and become a strategy: capture the moment, title it clearly, publish intentionally, and share it where your audience already hangs out. Not every clip will pop off, but consistent, high-quality clipping gives your channel more entry pointslike extra doors into your content.
Conclusion
Creating a clip on Twitch is part timing, part trimming, and part writing a title that doesn’t look like you fell asleep on your keyboard. Use the 9 steps above, publish intentionally, and treat clips as your channel’s highlight trailershort, snackable, and worth sharing.


